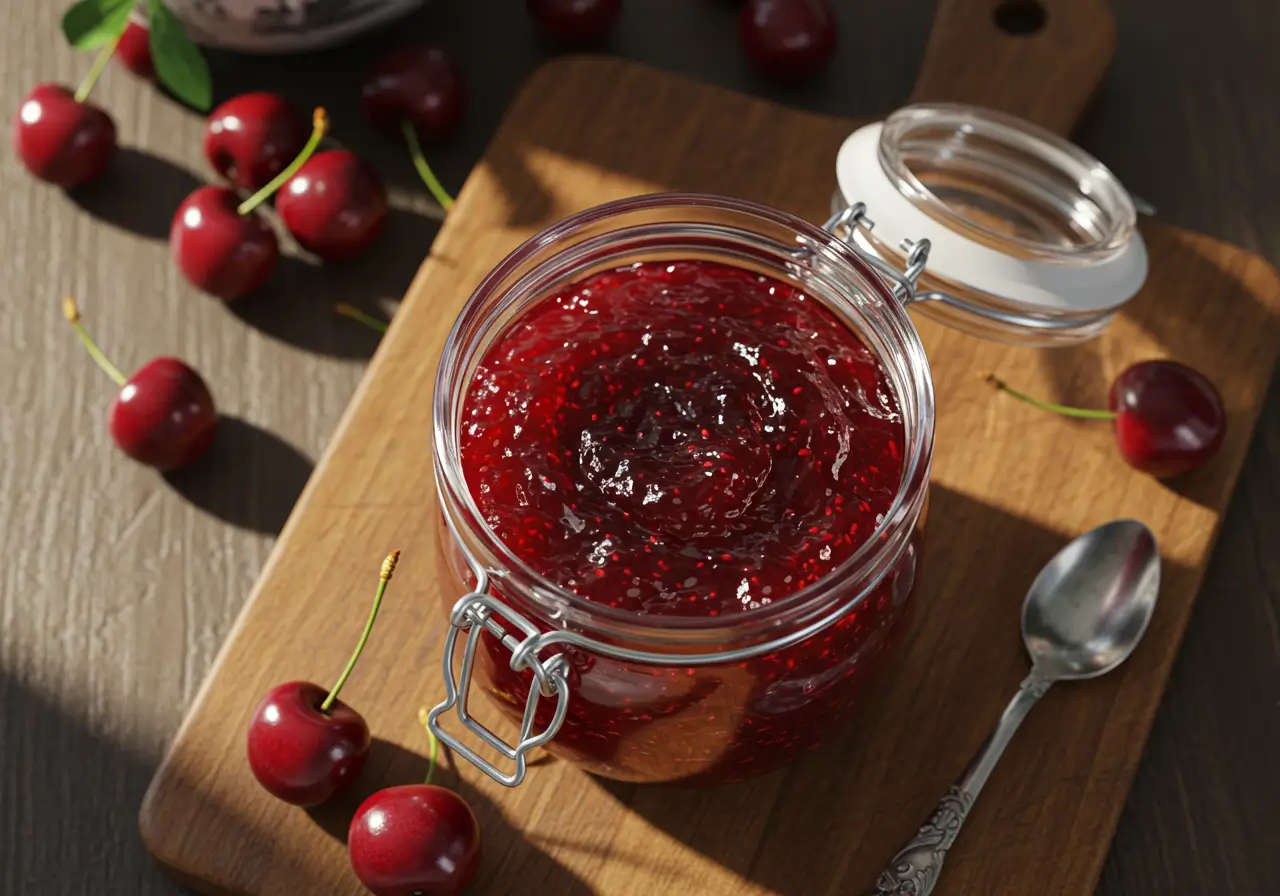
Making cherry jelly recipe at home is a delightful culinary endeavor that allows you to capture the essence of fresh cherries in a jar. The process begins with selecting the best cherries, followed by careful preparation and cooking to achieve the perfect balance of sweetness and tanginess. With the right techniques and ingredients, you can create a delectable cherry jelly that can be enjoyed on toast, paired with cheese, or used as a glaze for meats.
To start, you’ll need to gather fresh cherries, sugar, pectin, and lemon juice. The cherries should be washed, pitted, and crushed to extract their flavorful juices. Once the juice is obtained, it is combined with sugar and pectin, then brought to a rolling boil.
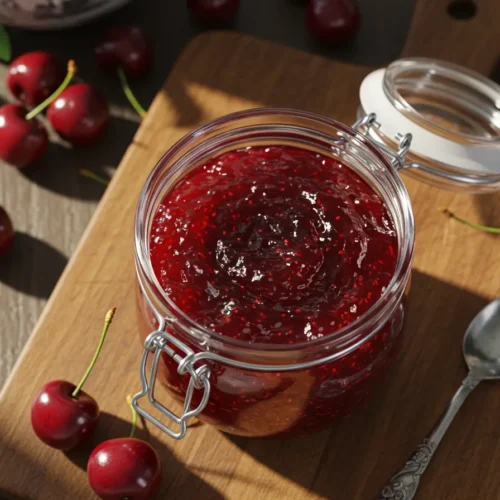
The mixture is then carefully poured into sterilized jars and left to cool and set. The result is a vibrant, jewel-toned cherry jelly recipe that encapsulates the essence of summer.
Key Takeaways
- Choosing the right cherries is crucial for making the perfect cherry jelly recipe at home.
- Pectin plays a key role in achieving the ideal gelatinous texture in cherry jelly recipe making.
- Balancing sweetness and tanginess is essential for creating the perfect cherry jelly recipe flavor.
- Get creative with flavor combinations to add a unique twist to your cherry jelly recipe.
- Proper storage is important for preserving the freshness and extending the shelf life of cherry jelly recipe.
Choosing the Best Cherries for Homemade Jelly

Selecting the right cherries is crucial for creating a delicious cherry jelly recipe. When choosing cherries for jelly making, it’s important to opt for ripe, plump, and flavorful fruit. Sweet cherries such as Bing or Rainier varieties are popular choices for jelly making due to their rich, juicy flesh and natural sweetness.
Alternatively, tart cherries like Montmorency or Morello can add a delightful tanginess to the jelly. It’s essential to use fresh, high-quality cherries to ensure the best flavor and texture in the finished jelly. Avoid using overripe or bruised cherries, as they may result in a subpar jelly.
Additionally, organic cherries are recommended if possible, as they are free from pesticides and other chemicals that could affect the taste and quality of the jelly.
The Importance of Pectin in Cherry Jelly Recipe Making
Cherry Jelly Recipe
Ingredients
- – 4 cups of fresh cherries pitted and crushed
- – 3 cups granulated sugar
- – 1 packet 1.75 oz powdered pectin
- – 2 tablespoons lemon juice
Instructions
- Wash, pit, and crush the cherries.
- Strain the juice using a cheesecloth or fine strainer.
- In a large pot, combine cherry juice, lemon juice, and pectin.
- Bring to a boil, then add sugar and stir constantly.
- Continue boiling until mixture reaches 220°F (104°C).
- Remove from heat and skim foam if needed.
- Pour jelly into sterilized jars, leaving ¼ inch headspace.
- Seal with sterilized lids and let cool at room temperature.
- Store in a cool, dark place. Refrigerate after opening.
Notes
– Add herbs like thyme or vanilla extract for unique twists.
– Proper sterilization of jars is essential for shelf life.
Pectin plays a crucial role in the process of making cherry jelly recipe, as it is responsible for creating the gel-like consistency that is characteristic of jelly. Pectin is a natural carbohydrate found in the cell walls of fruits, and it acts as a gelling agent when combined with sugar and acid, such as lemon juice. While some fruits naturally contain high levels of pectin, cherries typically require added pectin to achieve the desired jelly texture.
When making cherry jelly recipe, it’s important to use the appropriate type and amount of pectin to ensure a successful set. There are different forms of pectin available, including liquid pectin and powdered pectin, each with specific instructions for usage. Following the recommended pectin guidelines for cherry jelly recipes is essential for achieving the ideal consistency and ensuring that the jelly sets properly.
Achieving the perfect balance of sweetness and tanginess is key to creating a delicious cherry jelly recipe. The natural flavor profile of cherries offers a delightful combination of sweet and tart notes, which can be enhanced through careful consideration of sugar and acid levels in the jelly recipe. When making cherry jelly, it’s important to strike a balance between sweetness and tanginess to highlight the natural flavors of the fruit.
This can be achieved by adjusting the amount of sugar and lemon juice used in the recipe to suit personal preferences. Some may prefer a sweeter jelly with a subtle tang, while others may enjoy a more pronounced tartness in their cherry jelly. Experimenting with different ratios of sugar and lemon juice allows for customization of the jelly’s flavor profile, ensuring that it aligns with individual taste preferences.
By finding the perfect balance between sweet and tangy elements, you can create a cherry jelly recipe that is both vibrant and harmoniously flavored.
Tips for Achieving the Ideal Gelatinous Texture in Cherry Jelly Recipe
| Factors | Recommendations |
|---|---|
| Fruit-to-sugar ratio | Use 4 cups of cherries to 3 cups of sugar for ideal texture |
| Acid content | Add lemon juice to increase acidity for better gelling |
| Pectin | Use commercial pectin or choose high-pectin fruits for better gel formation |
| Cooking time | Boil the mixture until it reaches the gel point (220°F or 104°C) |
| Cooling process | Allow the jelly to cool at room temperature for proper setting |
To achieve the ideal gelatinous texture in cherry jelly, it’s important to follow specific techniques during the cooking and setting process. Properly extracting the juice from the cherries and ensuring thorough cooking are essential steps in achieving the desired consistency. Crushing the cherries and extracting their juice through straining or pressing is crucial for obtaining a flavorful base for the jelly.
Once the juice is obtained, it should be combined with sugar and pectin and brought to a rolling boil. It’s important to monitor the cooking process carefully, ensuring that the mixture reaches the appropriate temperature to activate the pectin and achieve a proper set. Additionally, allowing the jelly to cool and set undisturbed in sterilized jars is essential for achieving the desired gel-like texture.
Proper sealing and storage of the jars further contribute to maintaining the ideal consistency of the cherry jelly recipe over time.
Adding a Twist: Creative Flavor Combinations for Cherry Jelly Recipe

While traditional cherry jelly is delightful on its own, incorporating creative flavor combinations can elevate its taste profile and offer unique culinary experiences. Experimenting with complementary ingredients such as herbs, spices, or other fruits can add depth and complexity to cherry jelly recipe, creating a versatile condiment with diverse flavor profiles. For those seeking a subtle twist on classic cherry jelly, incorporating aromatic herbs like basil or thyme can impart an intriguing herbal note that complements the fruit’s natural sweetness.
Alternatively, adding a hint of warmth with spices such as cinnamon or star anise can create a more complex flavor profile that pairs well with various dishes. Exploring fruit combinations is another way to introduce creative flavors into cherry jelly recipe. Combining cherries with complementary fruits like raspberries or blackberries can result in a multi-dimensional jelly with a harmonious blend of sweet and tangy notes.
Preserving the Freshness: Proper Storage and Shelf Life of Cherry Jelly Recipe
Proper storage is essential for preserving the freshness and flavor of homemade cherry jelly. Once the jelly has been prepared and sealed in sterilized jars, it should be stored in a cool, dark place away from direct sunlight. This helps maintain its vibrant color and prevents flavor degradation over time.
When storing cherry jelly, it’s important to ensure that the jars are tightly sealed to prevent air exposure, which can lead to spoilage. Additionally, labeling each jar with the preparation date allows for easy tracking of its shelf life. When stored under optimal conditions, homemade cherry jelly can typically maintain its quality for up to 12 months.
However, it’s important to regularly inspect stored jars for any signs of spoilage or changes in texture or color. Properly stored cherry jelly can be enjoyed throughout the year, providing a taste of summer long after cherry season has passed.
Cherry Jelly for Every Occasion: Versatile Uses and Pairings
Homemade cherry jelly offers versatile uses and pairings that extend beyond simply spreading it on toast. Its sweet-tart flavor profile makes it an excellent accompaniment to both sweet and savory dishes, adding depth and complexity to various culinary creations. As a breakfast staple, cherry jelly can be enjoyed on freshly baked breads, pastries, or pancakes, adding a burst of fruity flavor to morning meals.
It also pairs beautifully with creamy cheeses such as brie or goat cheese, creating an elegant appetizer or cheese board addition. In savory applications, cherry jelly can be used as a glaze for roasted meats or poultry, imparting a luscious sweetness that balances savory flavors. It can also be incorporated into marinades or vinaigrettes to add a touch of fruity brightness to salads or grilled dishes.
The versatility of cherry jelly makes it an indispensable condiment that can elevate a wide range of dishes, offering endless opportunities for culinary creativity.
Health Benefits of Homemade Cherry Jelly Recipe
Homemade cherry jelly recipe not only delights the taste buds but also offers potential health benefits due to its natural fruit content. Cherries are rich in antioxidants, vitamins, and minerals that contribute to overall well-being when consumed as part of a balanced diet. The vibrant red color of cherries indicates their high anthocyanin content, which has been associated with anti-inflammatory and antioxidant properties.
Additionally, cherries are a natural source of vitamin C, which supports immune function and collagen production. When prepared without excessive added sugars or preservatives, homemade cherry jelly retains the nutritional benefits of fresh cherries while offering a delightful way to incorporate fruit into daily consumption. Enjoying cherry jelly as part of a varied diet allows individuals to savor its flavor while potentially reaping some of its nutritional rewards.
Troubleshooting Common Issues in Cherry Jelly Making
While making cherry jelly at home is a rewarding endeavor, it may occasionally present challenges that require troubleshooting to achieve optimal results. Common issues such as improper setting, cloudiness, or crystallization can arise during the jelly-making process but can be addressed with specific remedies. If cherry jelly fails to set properly after cooling, re-cooking the mixture with additional pectin and lemon juice may help achieve the desired consistency.
It’s important to follow precise cooking times and temperatures outlined in recipes to ensure proper activation of pectin for setting. Cloudiness in cherry jelly can result from inadequate straining or filtering during juice extraction. To remedy this issue, straining the juice through fine mesh or cheesecloth before cooking can help clarify it and produce a clear jelly.
Crystallization in cherry jelly may occur due to excessive sugar content or improper cooking techniques. To prevent crystallization, using precise measurements of sugar and following recommended cooking methods are essential for achieving smooth-textured jelly. By understanding potential challenges in cherry jelly making and implementing appropriate solutions, enthusiasts can refine their skills and consistently produce high-quality homemade cherry jelly.
For more delicious recipes, check out our the Best Turkey Neck Recipe.
FAQs
What are the best cherries to use for making homemade cherry jelly?
The best cherries for making homemade cherry jelly are typically sour or tart cherries, such as Montmorency or Morello cherries. These varieties have a higher natural pectin content, which helps the jelly to set properly.
What is the importance of pectin in cherry jelly making?
Pectin is a natural carbohydrate found in the cell walls of fruits, and it is essential for the gelling process in jelly making. Cherries contain some pectin, but additional pectin may need to be added to ensure the jelly sets properly.
How can I achieve the ideal gelatinous texture in cherry jelly?
To achieve the ideal gelatinous texture in cherry jelly, it’s important to follow a tested recipe and to properly measure and cook the ingredients. Using the correct ratio of fruit, sugar, and pectin, and following proper cooking and processing techniques, will help to ensure the desired texture.
What are some creative flavor combinations for cherry jelly?
Creative flavor combinations for cherry jelly include adding ingredients such as vanilla, almond, cinnamon, or even a splash of liqueur like amaretto or brandy. These additions can enhance the natural sweetness and tanginess of the cherries, creating unique and delicious flavor profiles.
How should homemade cherry jelly be stored, and what is its shelf life?
Homemade cherry jelly should be stored in a cool, dark place, such as a pantry or cupboard. Once opened, it should be refrigerated. When stored properly, homemade cherry jelly can have a shelf life of up to one year.
What are some versatile uses and pairings for cherry jelly?
Cherry jelly can be used in a variety of ways, such as a spread for toast or scones, a topping for yogurt or ice cream, a glaze for meats, or a filling for pastries and cakes. It pairs well with both sweet and savory dishes, making it a versatile addition to any kitchen.
What are some health benefits of homemade cherry jelly?
Homemade cherry jelly can provide health benefits due to the natural antioxidants, vitamins, and minerals found in cherries. These can help to support overall health, including heart health, immune function, and inflammation reduction.
What are some common issues in cherry jelly making, and how can they be troubleshooted?
Common issues in cherry jelly making include a jelly that doesn’t set, a jelly that is too runny, or a jelly that is too firm. These issues can often be troubleshooted by adjusting the pectin, sugar, or acid levels in the recipe, or by ensuring proper cooking and processing techniques are followed.